How to Perform a Rear Seat Delete on a 3rd Gen Tacoma (2017 - 2023)
Learn how to remove rear seats on 3rd Gen Tacoma. Create extra storage space with our step-by-step guide. Customize your truck today!

Are you looking to create more storage space in your 3rd generation Toyota Tacoma? Removing the rear seats can provide you with additional room for cargo and equipment. In this guide, we will walk you through the step-by-step process of performing a rear seat delete on your Tacoma. By following these instructions, you'll be able to free up valuable space and customize your truck to better suit your needs.
Step 1: Remove the Bottom Seat Cushions Begin by flipping the bottom seat cushions up and locating the four 12 millimeter bolts securing them to the floor. Carefully unbolt the cushions while leaving the hinges attached to the floor for later use. Remember to save the bolts for reassembly if desired.
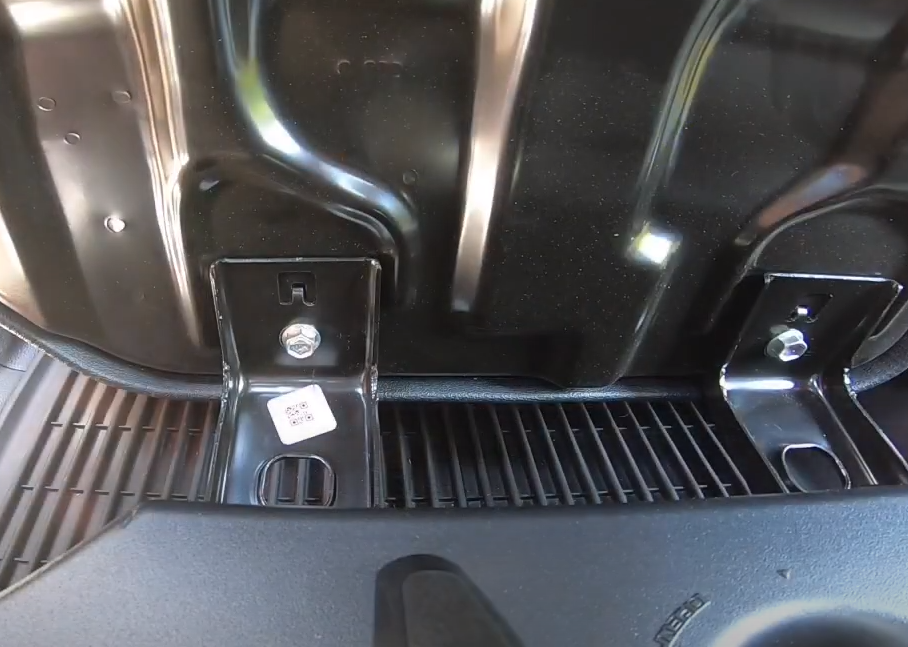
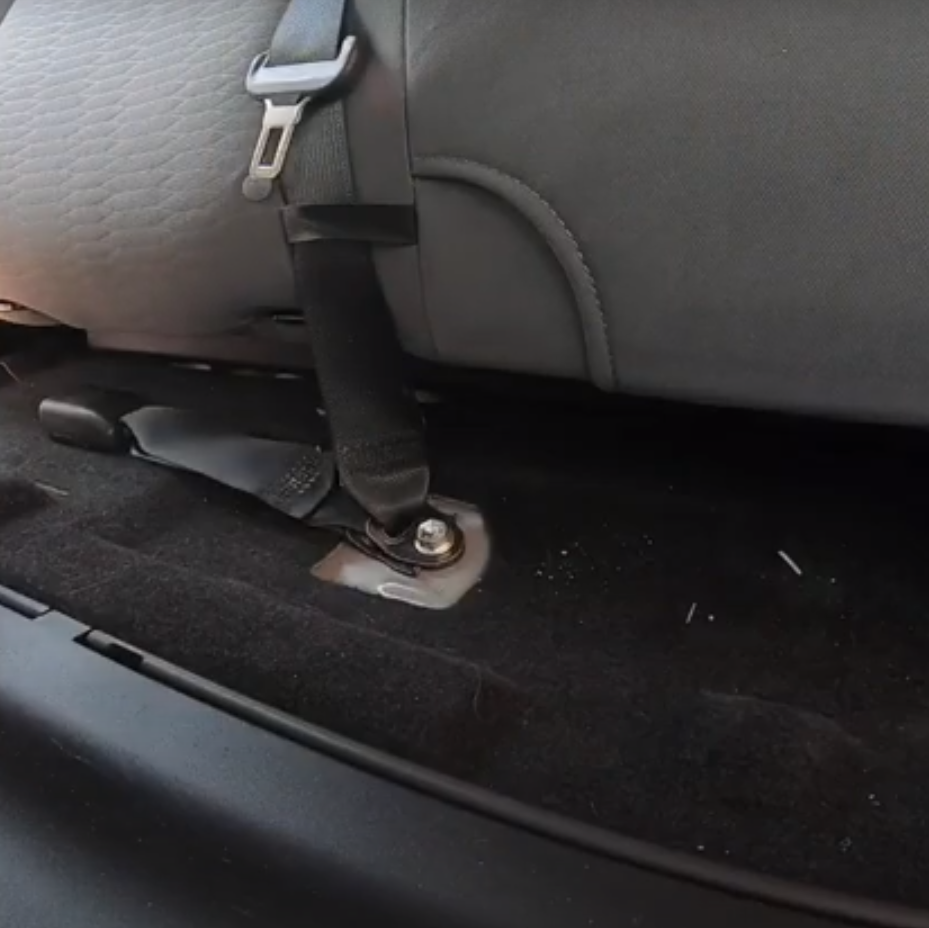
Step 2: Remove the Center Seat Belt Bolts Next, focus on the bench seat that is two seats wide. Use a 14 millimeter socket to remove the center seat belt bolts. Take note of the seat belt and washer orientation and consider documenting it with a photo. This will be helpful if you decide to reinstall the seats in the factory orientation later on.
Step 3: Unbolt the Seats Fold both seats down and access the back corners of each seat. Remove the caps and unbolt the seats using a 14 millimeter socket. As you remove the seats, thread the bolts back into the seat corners for safekeeping. This will help prevent any loss or misplacement of the bolts.
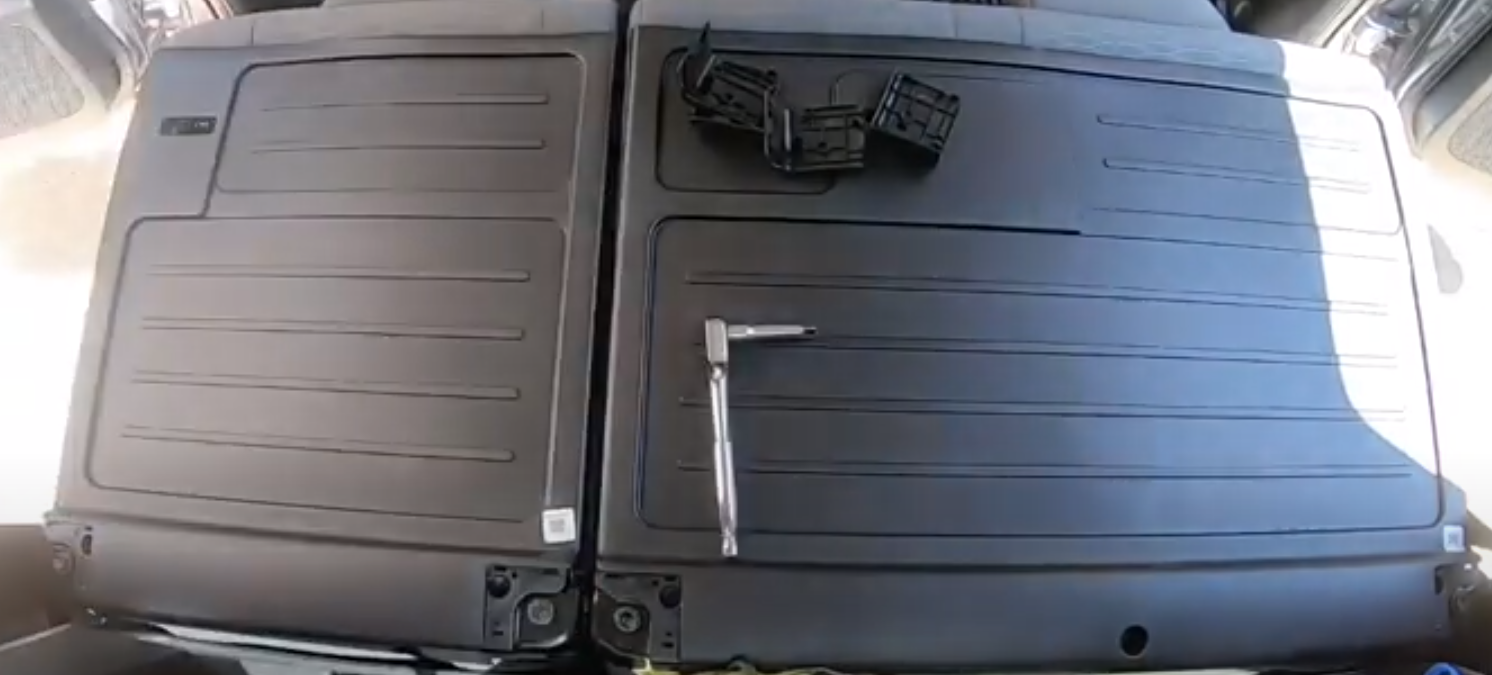
Step 4: Remove the Top Cushion Mounting Hinges To remove the top cushion mounting hinges, you'll need to take out the far right panel. Use a 10 millimeter socket to remove the three bolts that are arranged in a triangle pattern. Once the bolts are removed, carefully pull the panel out, making sure not to lose the bolts. Proceed to remove the cushion mounting hinges, of which there should be three in total. Keep these hinges in case you decide to reinstall the seats at a later stage.
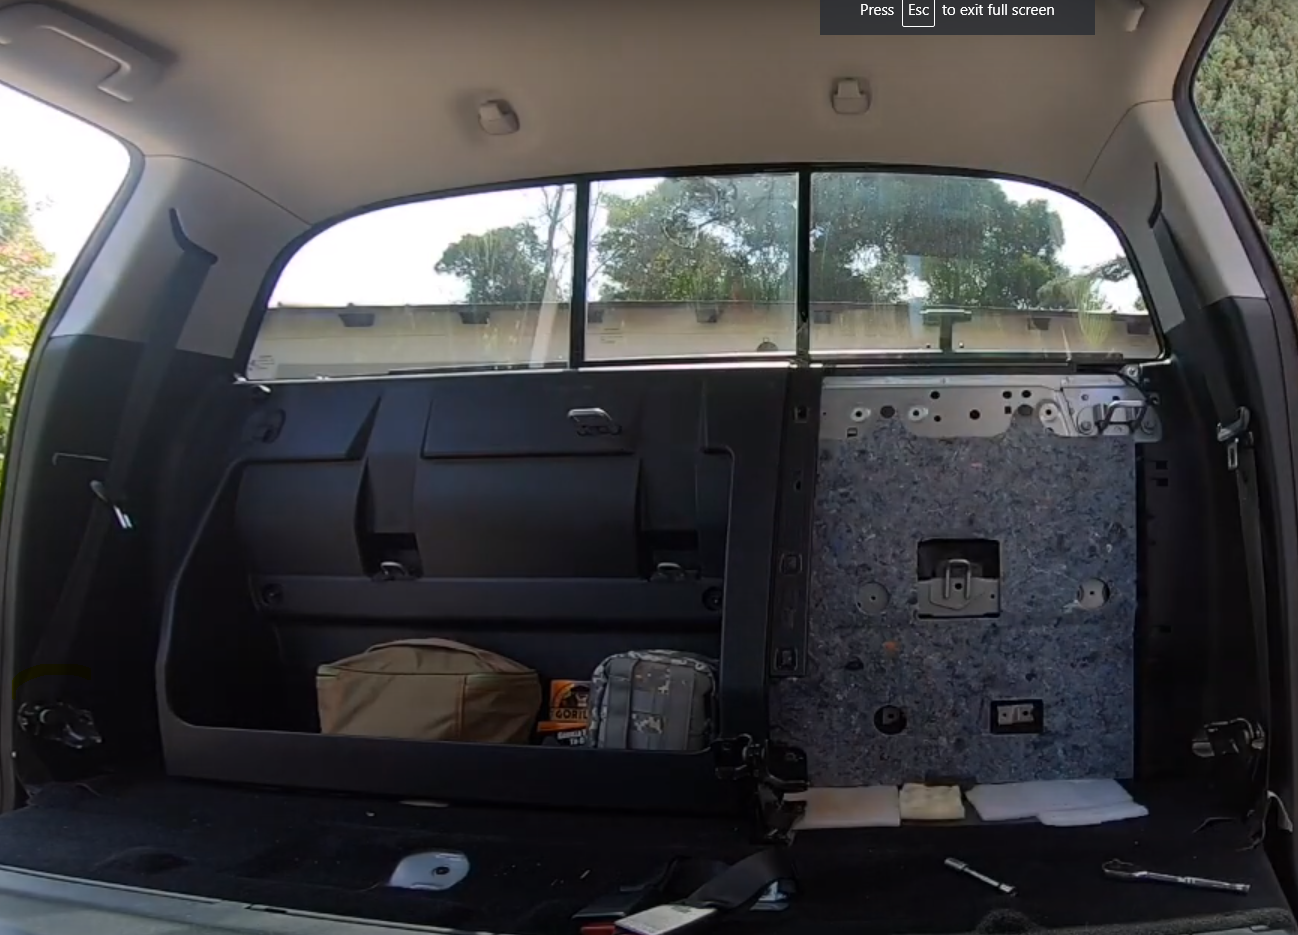
Step 5: Reinstall the Panel and Secure Screws With the top cushion mounting hinges removed, it's time to put the organizer panel back in place. Secure it by bolting the screws back in their original positions.
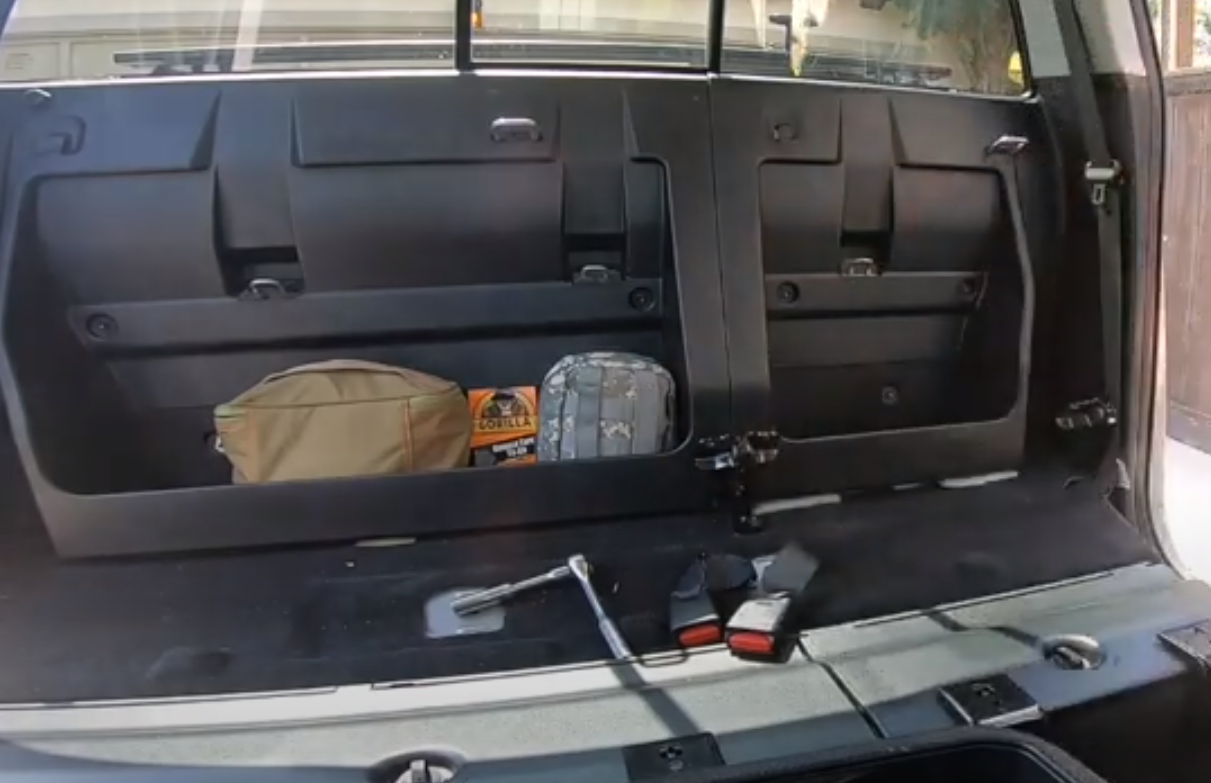
Step 6: Enjoy Your Rear Seat Delete! Congratulations! You have successfully completed the rear seat delete on your 3rd gen Tacoma. Now, you have additional space to create a customized storage solution that suits your needs. Whether you decide to fabricate a platform, install storage drawers, or add other organizational elements, the possibilities are endless.
Performing a rear seat delete on your 3rd generation Tacoma can greatly enhance the versatility and functionality of your truck. By following the steps outlined in this guide, you can easily remove the rear seats and create additional storage space. Remember to keep the necessary components, such as bolts and hinges, in case you want to reinstall the seats in the future. With the rear seat delete completed, you are now free to explore various storage options and personalize your Tacoma to optimize its utility for your specific needs.
